Windows
Staring with Installer
1. Install the package
Unzip downloaded package to your preferred location, run the unpacked MSI file, and follow instructions of the installer nextnano Setup.
2. Run nextnanomat
You can achieve it in two ways.
First Select the checkbox Launch the nextnano software to run nextnanomat during the installation process to open it immediately after closing the installation window by clicking Finish.
Second, run nextnanomat using automatically generated shortcut.
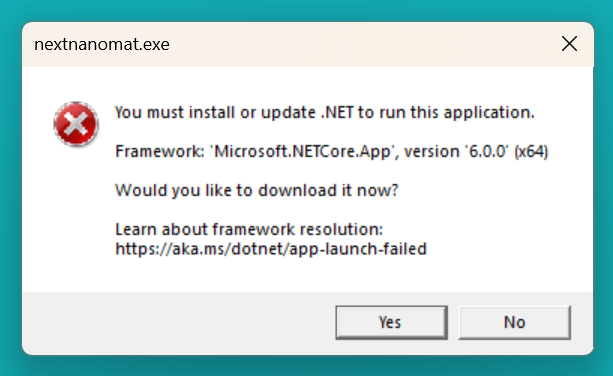
3. Install .NET Desktop Runtime
If prompted by nextnanomat, follow the link in the pop-up window. The nextnanomat GUI version 5 or higher requires .NET Desktop Runtime libraries to be installed on your computer to run. If it is not the case, then the following notification will occur.
You will need to open nextnanomat again after this process.
4. Activate the license
Make sure that you have connection to the internet.
Go to
Tools/Activate Licensein the top bar of nextnanomat.Enter your data, including the
License Keyobtained before by email.Click
Generate and activate license keyand confirm sending data to our server.If everything went fine, you should see an information that you received some licenses, click
OKto finish the process.
If you got lost or something did not work following steps above, please check other methods to activate your license in License Activation.
5. Verify which licenses you have
Go to Tools/Options... in the top bar of nextnanomat, then select License on the left panel. You will see paths to all licenses you have just received with green background suggesting that they are active.
6. Run your first simulation
Upon the first run, nextnanomat is opening an input file with a selected simple simulation.
Open an
Inputtab of nextnanomat, if not already, to preview the input file defining the simulation.Click the icon
 to run the simulation.
The nextnanomat will automatically choose the tool matching the input file to run simulation; In this case it will be either nextnano++ or nextnano.NEGF.
Confirm that you want to run the simulation.
After it finished, go to the
Outputtab, where you can preview the simulation results.
See What Next for the final part of “getting started” with our software, before you depart to do your research.
Last update: 2025/07/09